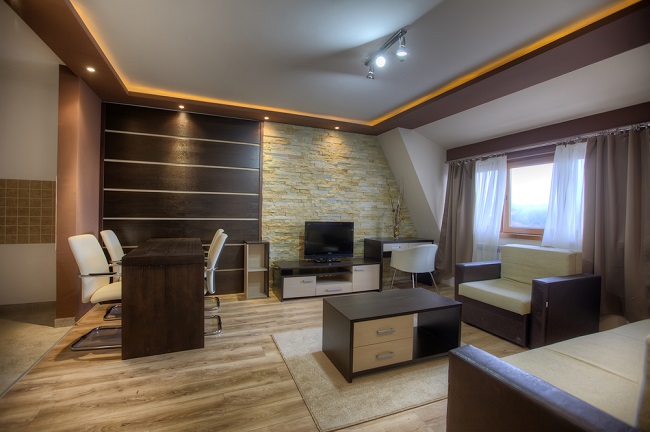
Acoustic Ceilings are one of the durable and cost-effective ceiling options; also, they can be removed at any point of time and without causing any damage. They are one of the most recommended aesthetic options that many institutional and commercial buildings are considering installing nowadays. They are highly light reflective ceilings that tremendously help in saving utility costs by reflecting more light to the room. With high resistance to humidity and fire, these types of ceilings are very flexible.
Below Is the Step by Step DIY For Acoustic Ceiling Installation & Repairs:

- Pen Down A Room Scale
You need to draw an exact draft of the room scale on a graph paper to determine the various material requirements of the room. Make sure to add varied patterns for the different material requirements. The cross tees should have enough spacing to ensure equal border panels too.
- Mark All the Lighting Locations
To ensure built-in lighting, all the lighting locations need to be identified first. Measure the exact height of the suspended ceiling. There must be 3 to 4 inches clearance between the new and the old ceiling. For recessed lightings, additional clearance is required. The panels of light must be clearly identified on the design as well.
- Place All the Wall Angles
After locating the suspended ceiling within the room, a level line needs to be identified where wall angles are to be placed. Fasten the wall angles using nails. The bottom flange should rest on the level line. And for inside angles, overlapping is required.
- Wiring Installation
After installing the recessed lights, wiring installation is required. Fluorescent light fixtures or luminous lay-in panels can be used for the purpose.
- Add Suspension Wires
Once the wires are installed, locate the main tees at the right angle to the various joists available in the room. Cut all the suspension wires to the desired length of 12 inches longer than the distance between the new and old ceilings. The first suspension wire should be located at the meeting point of the main tee and the first cross.
- Join the Main Tees
Refer the distance from the first cross tee to the wall and locate the slot beyond this point. Measure back the distance and subtract 1/8” (for a thickness of wall angle). Position the cross tees if the wall angles are not square.
- Install the Main Tees Along with Cross Tees
A long lever is used to install the main tees. The cross tees are installed by inserting them into main tee slots. You should also refer to the manufacturer’s instruction.
- Add the Ceiling Panels
Now, you can add the ceiling panels with a slight tilt. Lift them above the framework and then, drop to adjust with the frame.
After completing the installation, your ceiling is ready to illuminate your room with an artistic décor. These acoustic ceilings are prone to repairs as well, in the case of any damages.

Following are some of the easy DIY acoustic ceiling repair hacks:
- Locate the Tile Which Is Damaged
Any tile with a crack, hole or chip is considered as damage. It may also have a water damage that is indicated by discoloration and foul smell of damp water. To avoid any costly repair afterward, make sure to seal the loose pipes causing water dripping and water damage before replacing the tile.
- Remove the Tile Carefully
You need to tilt the tile to remove it carefully. You can, also, use a utility knife and cut off the tile from the ceiling. Make sure to purchase new tiles that are of the same size, design, and color to match the décor for replacing the old ones.
- Replace with A New Tile
A new panel is required to be placed to fit the acoustic tile carefully.
These simple Acoustic Ceiling Installation & Repairs hacks will surely help you to save money.

